Showing posts with label anchoring. Show all posts

Sunday, May 31, 2015

Mooring Ball in Ontario's Massasauga Provincial Park

 I was recently asked by a viewer of the following video as to how one pays for the use of a mooring ball in the Massasauga Provincial Park.

When tied up to a mooring ball in this area (the Massasauga Provincial Park), payment is made to the Ontario Provincial Park's guys who come by in a small boat to collect the fees, as well as take away your garbage for you.

 Sometimes, such as in this instance, nobody showed up when we were there, so we didn't have to pay. Not that that's an issue, because it's very reasonable, but sometimes they don't have enough time in the day to drop by every boat at every location. They will also collect a $10/night fee if your boat is tied to shore anywhere in the park. And that goes for all the boats who may be tied to shore together.

What I mean is that we have been there with four boats tied together (us and three friends) with a line running back to shore for stability. When the Park's guys came by, we all had to pay the $10/night. Again, we are good with that, because they will take the garbage away and best of all, tell you where the nicest anchorages are :-)
 
Have a look at this video I did from a trip there back in 2009. You'll see what I mean about the boats all tied to shore;

:-)

Monday, June 24, 2013

Choosing a Boat Anchor - eBay Guides

Here is another of my eBay Guides. Have a read and let me know what you think!


Unlike the hit song from the 70's, the last thing you want to do is 'Drift Away' after setting your anchor. A bit of planning and the right equipment will make setting the hook a secure experience.


Anchor Styles


A smaller boat needs a smaller anchor and a bigger boat needs a bigger anchor, right? This is not always the case, as size is an important consideration, but not the only one. Our experience has shown that the style of anchor has a greater bearing on its holding power than mere bulk.

When deciding on an appropriate anchor, take the following into consideration;
•    Size of boat
•    Bottom structure
•    Sea and weather conditions

Considering at the various styles, think about where most of your anchoring will take place. Will it be a lazy afternoon at a quiet, inland bay or for days on end alongside a more exposed Caribbean island? Either way, take into account the bottom conditions to determine the corresponding style.

 For small runabouts to larger cruisers, the most popular choices are;
•    Claw or Bruce. Designed for mud bottom.
•    Danforth. Best suited to a sand bottom, as the sharp flukes will dig in with tremendous holding power. Can also be used in a mud bottom, but may be more difficult to break free than a plow when retrieving.
•    Delta or Plow. As the name implies, this anchor is designed to work its way into the bottom, much like a farmers plow. Good all-around anchor in many conditions, including weeds.
•    Scoop Style (Spade, Rocna). These are relative newcomers to the scene and report fast setting with superior holding power. Down side is that they may be more difficult to retrieve and bring up lots of mud/weeds when set in those sea floor conditions.

 We generally boat where the bottom is mud or sand and use a delta style anchor as our main, with a smaller Danforth as a backup or stern anchor. Our inflatable dingy has limited storage, making a folding grapnel style or mushroom anchor feasible choices. Although small and easy to store, these compact units are best suited to short term use only.

Anchor Construction

Most anchors are forged from steel with a galvanized coating to prevent rust, as they are relatively strong and reasonably priced. This mass production material is the most common used and we have never had an issue with this type of construction. Although more expensive, stainless steel anchors are another choice as they offer considerably more strength and can be polished to a high gloss shine. Think of it as having both ‘bling’ and ‘brawn’ for your bow ;-)

 Rope or Chain?

Now that an anchor has been selected, we need to secure it to the boat. Use an anchor shackle to connect the anchor to the rode or chain. A piece of stainless steel locking wire should be run through the removable pin and tied around the shackle to avoid it turning out from vibration. No stainless wire on board? For a short term solution, a common zip tie can be used in a pinch, but is more susceptible to deterioration from use or UV damage.

The anchor rode (or line) is the next common element, produced from rope, chain or combination of both.

 The advantages of an all rope anchor rode is its light weight and ability to stretch. The three common rope configurations are; traditional ‘twisted’ line, ‘single braid’ or ‘double braided’ line. Nylon is the preferable material, having the desirable characteristics of good elasticity and resistance to UV light.  Another choice is Polyester, which is not quite as strong as nylon, but has better abrasion resistance and more UV resistant. The disadvantage of all rope is that it is considerably more susceptible to chafing and deterioration than chain.

Going with all chain will offer more weight, tending to improve the angle at which the anchor sets on the bottom. Chain is also preferable when anchoring in coral or rocky bottoms to reduce chafing that might otherwise occur on an all rope line. The disadvantage of going with all chain is that in very windy conditions the chain may go tight, with no slack or give. This could cause the anchor to break loose or damage deck fittings. Introducing a separate snubber line close to the deck would help relieve that strain.

Our choice matches that of many cruising boaters; a rope/chain combination, which gives us the benefits of both materials. Whichever way you go, be sure to have a ratio of at least ten times the length of rode to the depth of water you will be anchoring in - having even more on hand is advisable.

Windlass

The ‘First Mate’ on our boat loves the convenience of our mechanical windlass, which hoists the anchor up and down at the flick of a switch. Windlasses come with specific chain or rope sizes that they can work with, so match the rode to the unit you will be using.

It’s important to keep in mind that when using a windlass and the anchor has been set, it is imperative to take the load off of it, as it is not designed to bear the force generated by the boat’s weight. We have seen a fellow boater’s windlass that was damaged beyond repair when it was not properly tied off on a windy day. To avoid this yourself, relieve the windlass by attaching the rode directly to a cleat, or use a chain lock for an all chain rode. A mooring snubber will further reduce the strain on both the rode & boat.

Whatever your choice in hardware, once anchored it is vital to keep an eye on everything, checking periodically to make sure you are maintaining your anchorage. Changes in wind direction or speed, current or wave action can all affect the anchor’s hold, so be sure to be aware of these changes and adjust accordingly.

 With a sound anchoring solution, you can relax to a ‘Peaceful, Easy Feeling’.

Saturday, January 29, 2011

A New Anchoring Bay - Georgian Bay Sunsets

~ Part Four of the Big Boat Delivery HOME From Michigan to Lake Simcoe ~


 During our travels of 2010, we were introduced to yet another great anchoring bay on Georgian Bay - this one called Wani Bay, or one of about 218 places on The Bay referred to as Hole In The Wall - but don't look for it on your charts. This is kinda one of those that you have to be 'let in on'.


 It's off the beaten track and if one wasn't aware of it's being there, it would most likely be passed right by. When studying it on the charts, I thought there was no way we would be able to fit the big boat in the very tight entrance, but Mr. Von A. assured me we would get in safely (the Water Wings crew had been here before).

 Hold on a minute. Before we got there, we had to travel north from Beausoleil Bay. Our initial plan was to spend a night just north of Honey Harbour at an anchorage around the Musquash Channel. There's about a half dozen good places to drop the hook, but all were full. Despite spending a couple of hours driving all through the area, we couldn't find anything and ultimately pressed on northward.

  Driving into the Musquash;

  Passing by Bone Island. Just to the right of this shot is the last spot we checked out - a small, unnamed bay known as 'Hockey Stick';

 North and passing through the 'inside' of Monument Channel;

 Monument Channel Video;


 So, without any luck at our previous tries, it was suggested we check out a spot he knew called Wani Bay. We did. Here's a whole whack of pics from there;

 Anchors set, I just had to take the dingy out to get some pictures of this beautiful spot.
 Here's a shot of our backsides, looking westward towards the Small Craft Route (you can't see it from here, but that's where it is);

 From the flybridge, again looking westward to the sunset. A peaceful, quiet spot;

Loverly;

Video from the dinghy;


The next day, we went for a dinghy ride over to O'Donnell Point to check out the many, mini islands;

Let's go onto this one. And don't worry, this is public land, so we were allowed to visit.

Cool looking rocks, eh? The moss looking material is actually called 'Lichen' & is a hybrid organism that is sort of a cross between an algae and a fungus.
 Whatever it is, it looks neat;

Not wanting to take any chances with the snakes on the island, Anchor Girl elected to stick close to the dingy and the water's edge;

Looking south west to the actual point of O'Donnell Point;

 Beautiful, clear water;

Beautiful;

  Finishing up our land exploration;

Evening number two at this spot and we were blessed with a spectacular sunset!

Wani video number uno;


 This was the view from the boat, looking over to the entrance to this bay. A little intimidating the first time through, but manageable nonetheless. And one more part of the great adventure :-)

Here's a zoomed in shot of the above picture, looking at the opposite side of the channel known as Twelve Mile Bay.
 Looks like a Group Of Seven painting to me . . .


  Rocks and trees. Pretty rocks;

Yes, I know;

 This is what it''s all about, my friends;

Cool shot of the two Rays;


The crews are on deck to enjoy the sunset show;

Pretty.
I should send this photo into the marketing department at Sea Ray;

This is the shot of my boat I was looking for;

More chuckles from the big guy;

Zoomed in to the west from the boat;

Anchor Girl enjoys the view.
 And I enjoy mine.

Next time it's up, up and away as we take off on a float plane to see Georgian bay from the air!!
.

Monday, December 20, 2010

Back On Georgian Bay - Beausoleil Bay at Anchor

~ Long(er) Days ~
 I'm very happy to remind you all that Tuesday marks the first day of winter - the shortest day of the year. Oh goody, you're thinking? YES! From Wednesday onward, the days will be getting longer again and we are only 3 months away to the first day of spring :-)
 And not too long until late evening sunsets like this one;

~ Part Four of the Big Boat Delivery HOME From Michigan to Lake Simcoe ~


 After safely crossing the western part of Georgian Bay from Tobermory and spending the night in Midland, we moved onto our 'relaxing' portion of the journey - anchoring for a couple of days in Beausoleil Bay.


 Anchor Girl was happy to finally have the rough waters behind us and enjoying a restful time at anchor;


A view from the fly bridge deck looking northward towards Chimney Bay;

A zoomed-in shot from the same vantage point. That there would be just about where we were last summer when the anchors let loose. Pretty spot, isn't it?

 One of the features I like the most about the new boat is the big, comfortable shower on board that I use regularly. The cool part is that there is an operating porthole in the one in our master bath and it's great to be able to look out across the water while having a shower :-)
 Here's a video to give you an idea of what I mean. And don't worry, I'm not actually showering in the clip ;-)


A.G. sitting at the back of the boat whilst I was floating out on the dingy taking some pictures of the boat - and A.G.

 This was our very first time at anchor with the Big Boy. That big, 47 pound 'Delta' style anchor and chain rode certainly holds well;

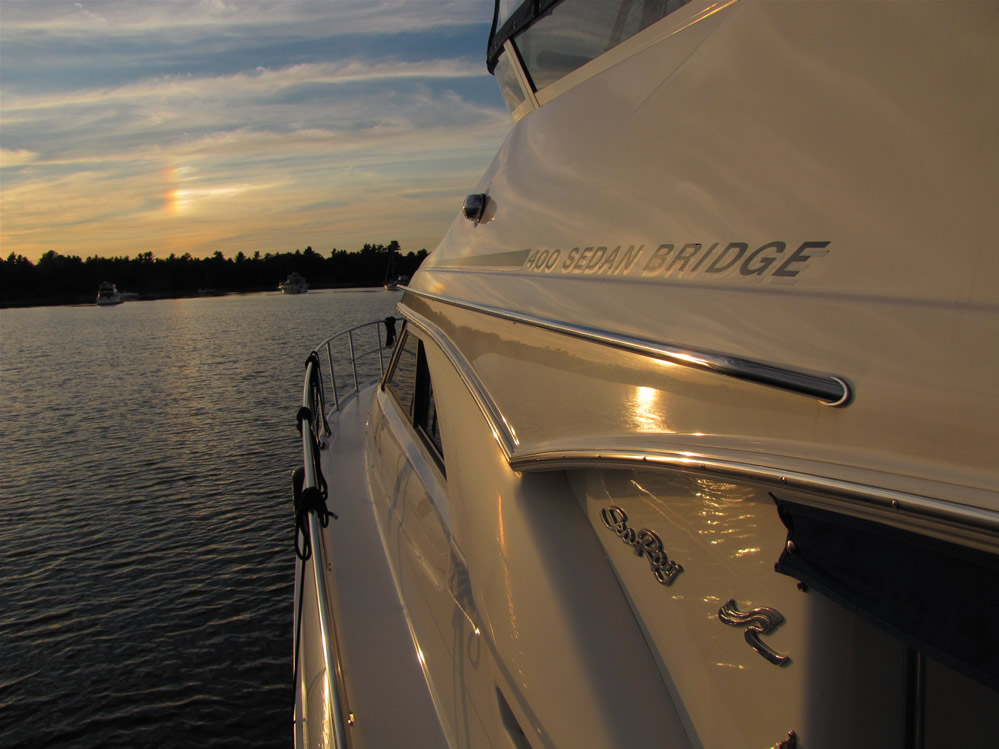
 Note the sunshine 'rainbow' in the center of this pic. That was a naturally occurring phenomenon, not just a reflection in the lens. Beautiful;

Same spot, looking back towards the boat;

 A panning video of our anchorage and the beautiful summer scenery;


Another wonderful sunset shot;

 And another;

 One more video, depicting how much the boat was swinging this day;


 Nothing like a BBQ on the boat anchored out on the water;

It was nearly a full moon that night, casting it's light across the bay;

The Water Wings crew joined us the next day;

Nice to back up on The Bay, eh guys???

 The evening sun glintering (yes, that's a real word) on the water;

 Here is is in video form;


Pointing the camera slightly to the right (north-west), brought this lovely site into view;

Again, we have video of this sight;


 Meanwhile, Anchor Girl jumps in for a pre-breakfast swim. As for me, I simply turned on the air conditioner on the boat;
 Swim all done, A.G. waits for me to finish cooking the breakfast on the BBQ;

 After pulling anchor, we headed northward to check out the anchorages in around Bone Island. After touring through that entire area for about two hours, we found all the spots full with boats, so we continued north to another slice of heaven that we were told about. We'll visit that in the next segment;